When I was a boy, many years ago…
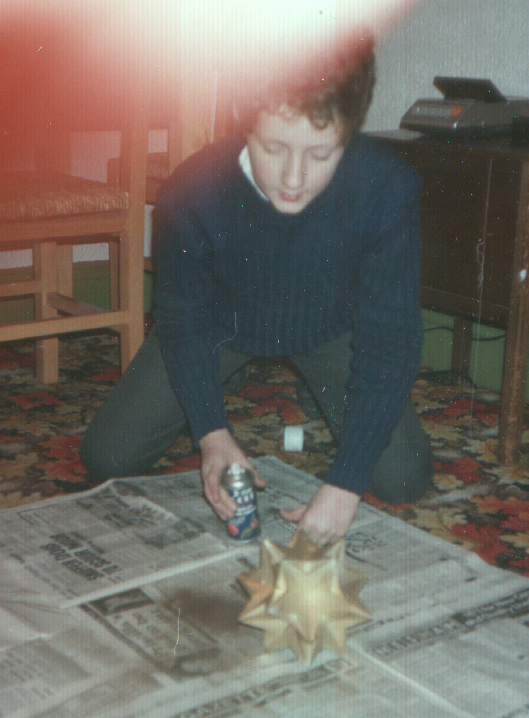
…I used to like building polyhedron models out of card. Here is a photo of me, probably around 1987ish, spray-painting a compound of ten tetrahedra. Evidently the photographer had partially obscured the aperture with their finger, but there were no digital cameras back in those days, you only found out your mistakes when you had the picture developed!
Making a model out of card was a long and laborious process. First, armed with a protractor and ruler, one had to draw the net on card, making sure there were tabs in the right place to glue the thing together. Then it had to be cut out, and the intended folds scored very carefully with a craft knife (you need them to fold cleanly, but if you cut through the card you’ll have to start again). Finally, it had to be glued together to give it three-dimensional form, a process which got increasingly fiddly as access to the interior became harder.
Continue reading “Wishing upon a star”